Your coffee tastes a bit “off” and you don’t know why.
You’re getting the same brand of coffee every time, it’s being ground up the same way.
The problem is your coffee maker. If you’re using a traditional drip feed system, then there are a few working parts that have built up grime and need to be taken care of.
Don’t worry, we’ll teach you how to clean a coffee maker even if you’re using manual options, like a French press or pour-over system.
Cleaning a Drip Feed Coffee Maker
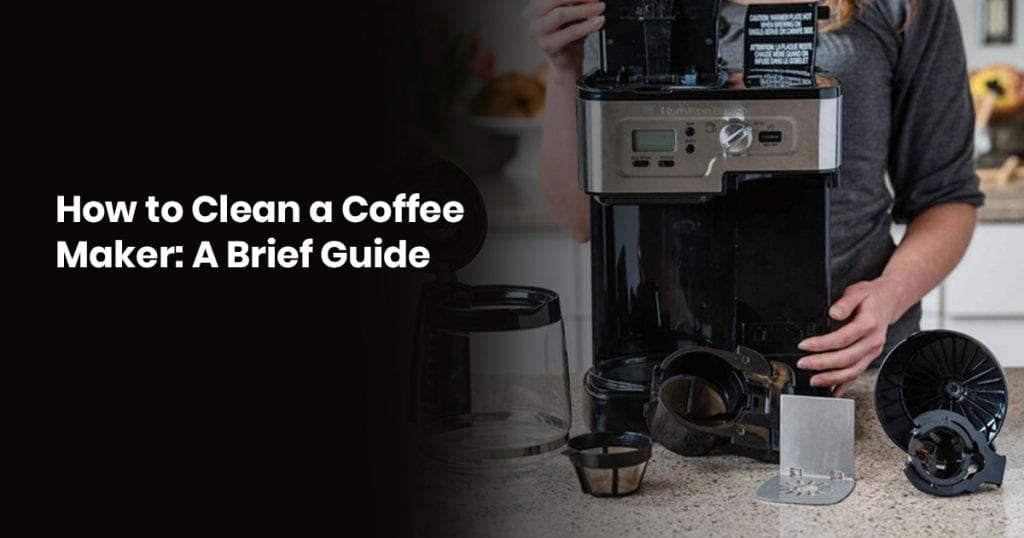
First, you need to identify the working parts of your drip coffee maker.
There’s the brew basket, the filter (usually a plastic filter that comes with the unit), a coffee pot, lid, and the actual brewing system.
In that system, you have a heating plate, heating element, water tank, water um/hose, and a spray head. Know the anatomy of your coffee machine.
Remove All Pieces
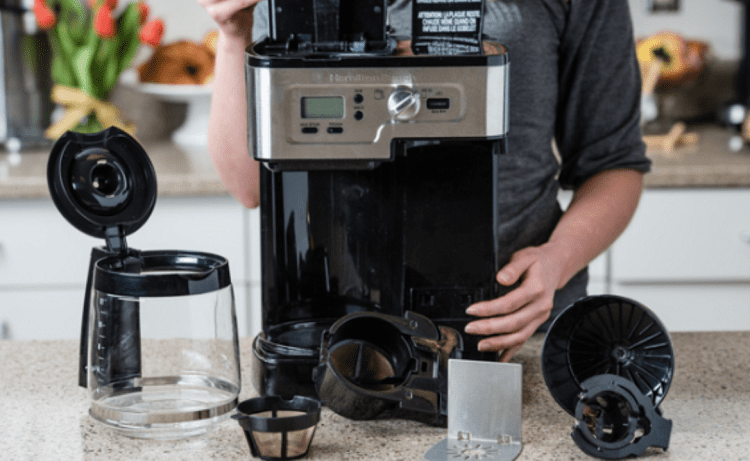
Take the coffee pot and brew basket, as well as the filter and pot lid (if it’s removable), and soak everything.
Either fill up your sink or get a separate container, but these all need to soak in a soap and water solution either way.
Coffee has a lot of oil in it. Between the evaporation of steam from your coffee, and the fact that your coffee pot is probably not made of borosilicate glass, everything is coated in the coffee residue.
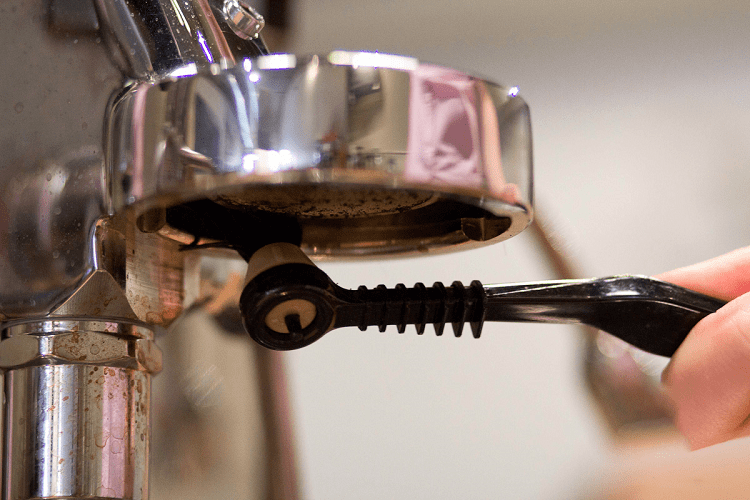
Remove your spray head during this step, and swipe your finger across it. It’s like thin motor oil on your fingers.
Start From the Inside Out
When you’re cleaning your drip coffee maker, start with the water tank. Use a cloth and a soft plastic bristle brush to scrub out nooks and crannies.
If you don’t have a bristle brush, take a butter knife and wrap a paper towel around the end as a makeshift tool.
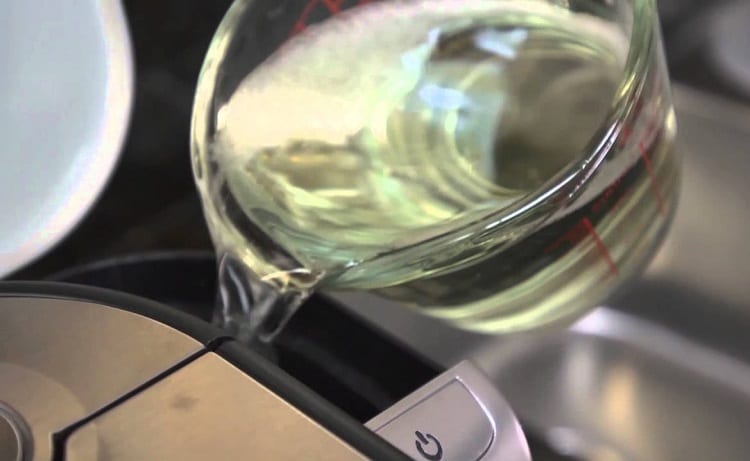
Wipe until you don’t get any colored residue on your cleaning tool anymore. Then, fill the water tank with two parts hot water, one part distilled white vinegar.
Place something on the burner to catch the hot water, and turn this system on.
Once you’re done with this step, rerun the vinegar solution through the tank one more time, then two cycles of hot water to remove any vinegar flavor or aromas left behind.
Do this, or replace the plastic water pump tube altogether.
Scrubbing Everywhere
While this doesn’t directly affect the taste of your coffee, nobody wants to be drinking coffee from a dirty machine.
Instead, clean the outside of your machine including the hot plate, the base, the complete exterior, and the lid for your water tank.
This is often skipped during the second step, so I’m mentioning it here: steam rises, grime sits just under the lid if you aren’t careful.
Use a microfiber rag to prevent particles from paper towels from sticking to the outside.
Vigorously Clean Your Working Parts
Bristle brushes, cloths, and water pressure from your faucet hose—go to town on those pieces that we removed earlier.
Your coffee pot should be spot-free and clear as day, instead of the yellowish brownish tinge that it was before.
Pay special attention to your spray head here. Run your faucet hose over it to ensure no debris or grime clogs any of the spouts.
This is critical because if your spray head isn’t working right, your coffee isn’t being brewed properly.
Sanitize and Return
You can simply clean these out with soap and let them air dry, or you can use white distilled vinegar to clean it out and let it dry from there.
Either will be effective, food-safe methods of cleaning your coffee pot. Return your coffee pot to the burner.
Return the spray head, brew basket, and everything else your particular coffee maker might have on it. Run water through it one time just to ensure that there’s no soap residue left over.
Cleaning a Manual Coffee Maker
Most manual coffee makers are just a lot of glass and a filter cup, but it’s important to know how to clean those the right way.
With a drip maker, if the pot breaks, you can just get a new one. With a manual coffee maker, broken glass means the whole thing has to go in the garbage.
Fill With Hot Water
This can be tap or brewed (210° F, just below the boiling point), but it has to be nice and hot.
Fill the entire basin upright to the top, whether it’s a French press or a pour-over coffee maker. Leave the water to sit in the coffee maker for about five minutes.
Brush It
I can’t stress this enough—get a soft bristle brush to use. If it’s too abrasive, it might get the grime out faster, but it’s going to create micro divots in the glass.
This can lead to rapid expansion and eventual breakage, but the most important reason to avoid this is that micro divots can harbor bacteria even after a thorough wash.
If you heat your manual coffee maker with hot water, as I instructed, it will soften up the grime and make it easier to tackle with a soft bristle brush.
Gently scrub all glass components until clean and clear.
Clean All Working Parts
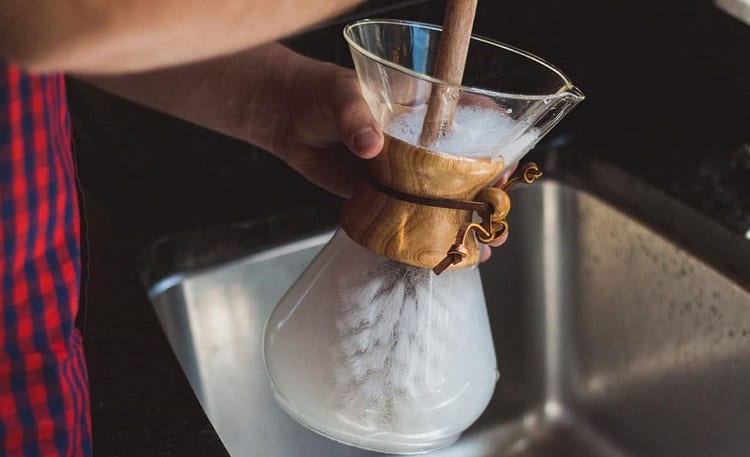
With a manual coffee maker, there’s less to clean than an automatic drip feed system. For pour-over units, you might just have a filter basket to clean.
For a French press, there’s the plunger, rubber gasket, and the mesh screen to cleanout.
Clean everything thoroughly with soap and hot water, and then get ready to sanitize them inside the entire unit.
Sanitization Purge
Just like we did with the auto-drip coffee maker, you’re going to run hot water and white distilled vinegar through your manual coffee maker.
Just mimic the same steps that you would if you were brewing coffee. For a pour-over coffee maker, this might take longer since there’s relatively no pressure being applied to the unit.
With a French press, you should only need to cycle this solution one time, provided that you cleaned everything appropriately.
Air Dry and Enjoy
Air drying is important to prevent the spread of bacteria. It’s practiced in restaurants across America to eliminate habitats where bacterial growth can occur.
Bacteria only needs about two to four hours to reach potentially harmful levels, depending on the environment.
Air dry, then reassemble and brew yourself some delicious, clean-tasting coffee.
Tips to Remember When Cleaning Your Coffee Maker
Don’t Use Abrasive Cleaners
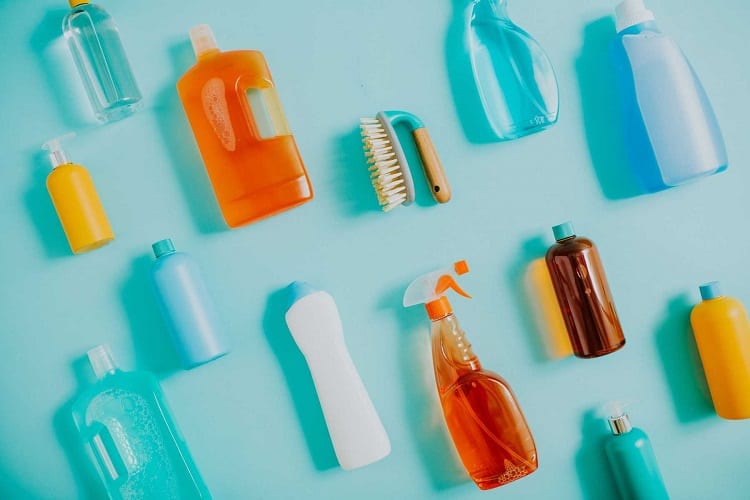
That goes for sprays, as well as scrubbing agents like steel wool or the tough side of sponges.
You want to avoid scratching up plastic and glass (the two most common materials used in coffee makers) because it can leave divots in the material that can harbor bacterial growth.
Don’t Let Water Sit for Too Long
Water grows stagnant when it’s not in a controlled environment, even if it’s hot. It will cool, and you will have just given bacteria a faster start.
Dump out old water. Even if there are only a few drops in the bottom of your coffee pot when you put it back on the burner, rinse it and return it to an upside-down position on your dish drying rack.
Wipe the Sprayhead After Each Brew
You don’t have to dissect the entire coffee maker, but after cleaning it, the one thing you’re going to remember above all else is the grime on that sprayhead.
Give it a quick wipe with a small square of a paper towel after every brew to keep the immediate grime at bay.
This isn’t effective at reducing what gets jammed inside the spouts, but it takes care of the bulk for now.
Be Careful With Auto Coffee Makers
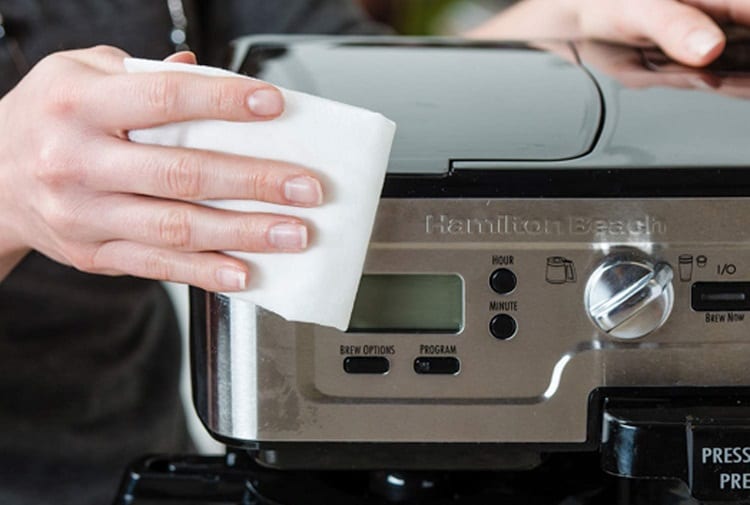
There’s still electrical equipment at work in your coffee maker. While cleaning, be gentle with your automatic coffee maker and be sure to leave electrical panels and wiring alone.
There isn’t much, so any small indiscretion or amount of damage could really damage your unit. Just clean around any electrical areas.
If you want, you can open them to check for debris or coffee grounds and clear it out, just don’t do it near water.
Enjoy That Clean Brew
Keeping your coffee maker clean is critical for the flavor of every single cup, and just for the sake of cleanliness.
Check your spray heads, your pots, and water lines to ensure everything is running smoothly.
There are multiple ways to sanitize something to make it food safe again, we simply chose white distilled vinegar throughout this article because it’s not only food-safe, but it’s completely edible.
When you can avoid using bleach and harsh chemicals, you eliminate unnecessary risks.
